
How to install EU Withdrawal Button
How to Install
You can also follow these steps inside the app: open EU Withdrawal in the Pandectes menu and use the guided setup.
Follow these steps to add the EU withdrawal button to your Shopify storefront.
Step 1: Open the theme editor
From your Shopify admin, go to:
Online Store > Themes
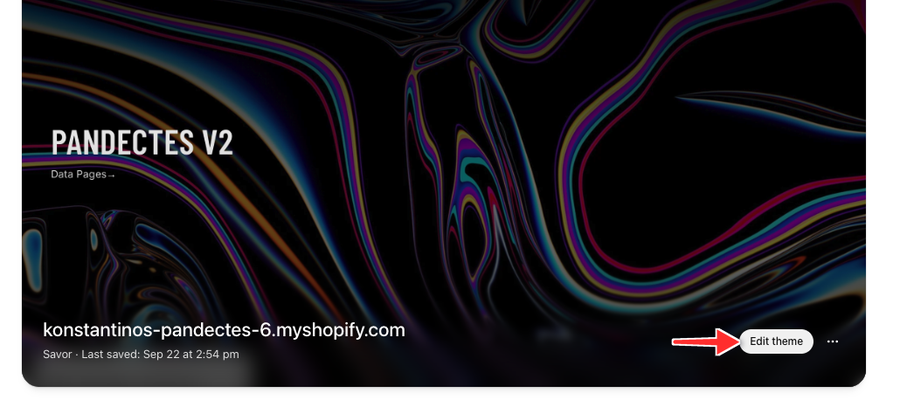
Find your active theme and click Edit theme.
Step 2: Open the Pages template selector
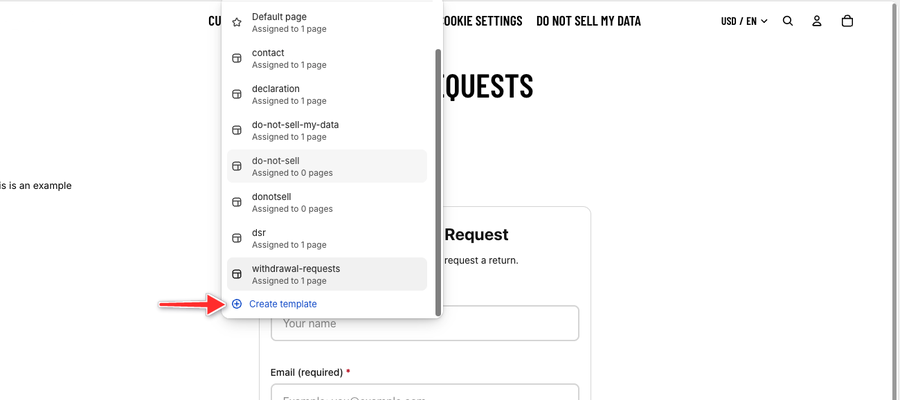
Inside the theme editor, use the page selector in the top menu, open Pages, then scroll to the bottom of the list and click Create template.
Step 3: Create the withdrawal-requests template
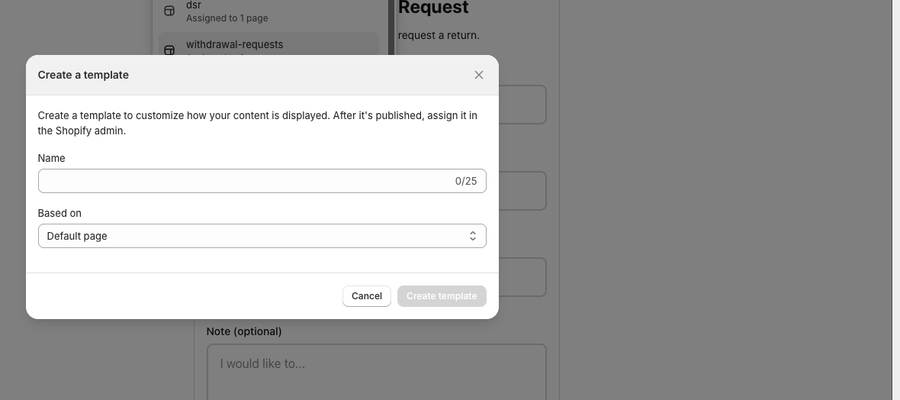
In the Create a template dialog, name the template exactly:
withdrawal-requests
Click Create template. Shopify lists it as withdrawal-requests in the Pages templates.
Step 4: Add the Pandectes Withdrawal block
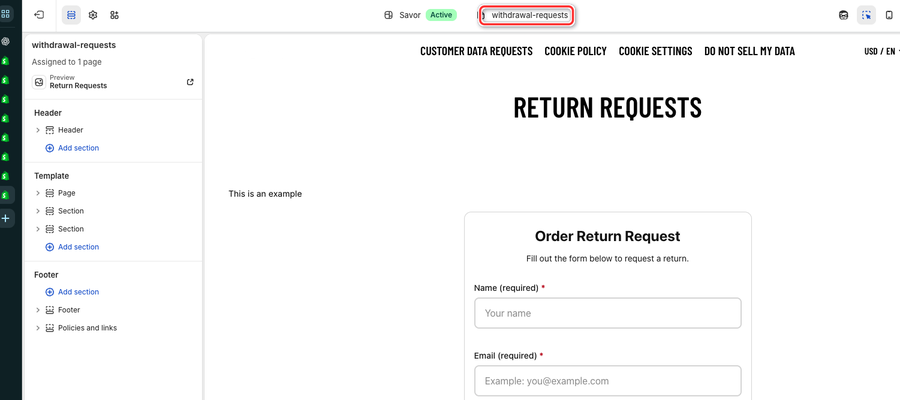
While you are inside the withdrawal-requests page template:
- Under Template, click Add section.
- Search for Pandectes Withdrawal and add it.
- Make sure the item is visible (eye icon).
- Click Save.
Step 5: Create the Shopify page
Go back to Shopify admin and open:
Online Store > Pages
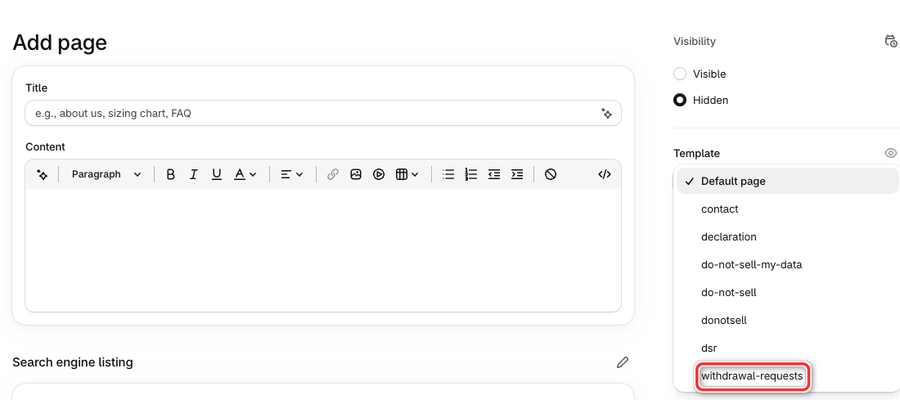
Click Add page.
Add a page title, for example:
Return Requests
In the Template field on the right, select:
withdrawal-requests
Click Save.
Step 6: Add the page to a menu
From Shopify admin, go to:
Content > Menus
Open the menu where you want to add the page, usually the Footer menu.
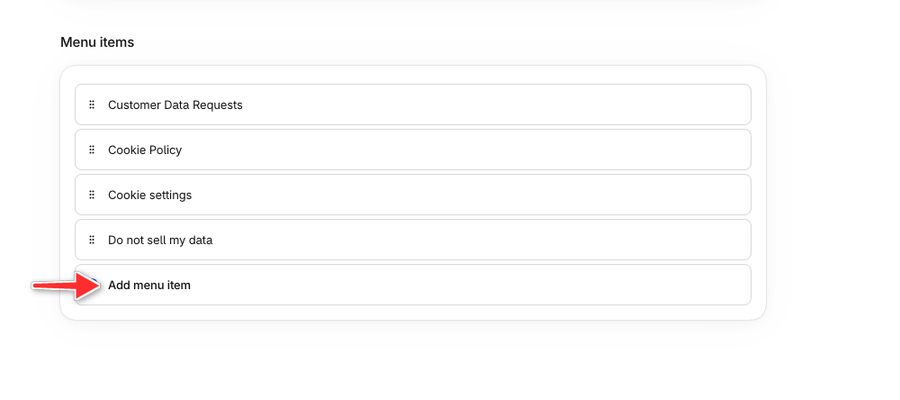
Click Add menu item.
Add a menu label, for example** Return Requests**
Link the menu item to the page you created, then click Save.
Related Settings
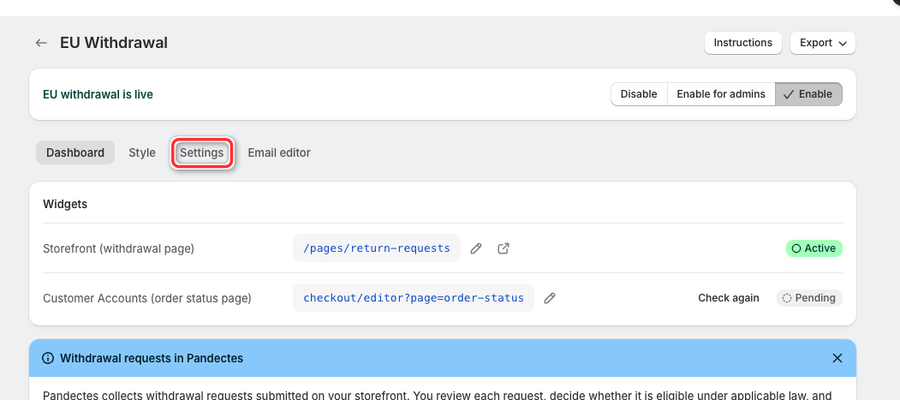
After installation, review the related settings in Pandectes.
Updated on: 27/10/2026
Thank you!