
How to use enforced consent (modals) on the new banner
Overview
Enforced consent displays the dialog as a modal with a background overlay until the visitor interacts.
Enforced consent (modals) makes the page behind the banner visually inactive. Visitors should use Accept, Decline, or Preferences before using the store.
Lock background scroll can be enabled with modals so the page cannot be scrolled while the banner is open.
This is a stronger experience than a small corner box. It can support strict opt-in regions. It can also increase bounce rate if the message is unclear or Decline is hard to find.
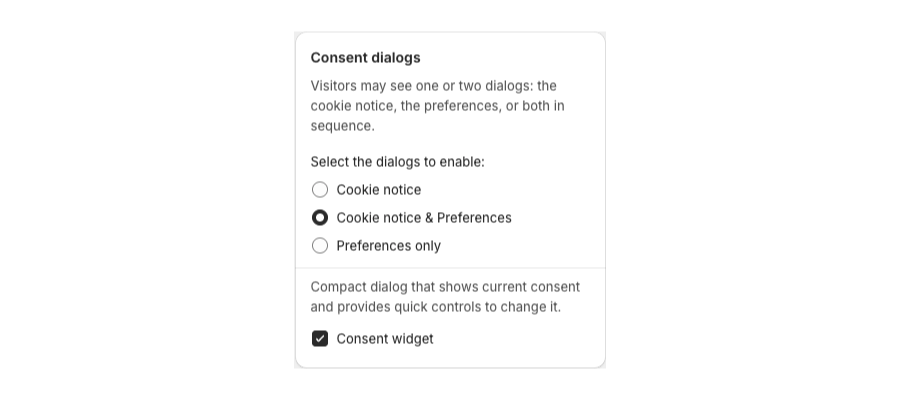
The same controls appear under Layout > Consent dialogs and on Advanced.
Before you start
- Set All settings > Consent model & regions to the consent model you need (for EU, usually Strict opt-in or Auto Pilot).
- Keep Accept and Decline visible if you use Google tags. See How to create a banner that meets Google’s banner requirements (New Version).
Enable enforced consent
- Open Shopify Admin > Apps > Pandectes GDPR Compliance.
- Go to Cookie banner.
- Open Layout > Consent dialogs.
- Enable Enforced consent (modals).
- Optional: enable Lock background scroll.
- Confirm the same options on Advanced if you edit that tab.
- Save.
Close actions that are limited
On Advanced > Close banner, some dismiss methods turn off while modals or scroll lock are on. Click-outside, scroll, or timeout should not bypass a blocking modal.
If Implied consent is also on, only remaining close methods can record implied allow or deny. Configure implied consent on the same Advanced tab.
Verify
- Preview on desktop and mobile.
- Confirm you cannot click the product page through the overlay.
- With scroll lock on, confirm the page does not scroll behind the dialog.
- Accept and Decline both close the modal and record consent as expected.
Related articles
- Advanced Banner Settings (New Version)
- Consent Dialogs (New Version)
- How to set Auto Pilot or a custom consent model per region (New Version)
Updated on: 05/10/2026
Thank you!