
How to add a language menu on the banner (New Version)
Overview
It covers the language menu on the banner header, not the merchant admin language.
The New Banner can show a language control in the header so visitors can switch banner copy without changing the whole store language.
That is separate from:
- All settings > Language & translations: default language, extra languages, and detection (browser, IP, URL, store locale)
- All settings > Language & translations > Edit (on a language): translated strings for banner, cookies, categories, DSR, and declaration
If Hide header is on in Layout, the language menu is hidden with the title and logo.
Before you start
- Add extra languages under All settings > Language & translations.
- Confirm translations exist under All settings > Language & translations > Edit on each language (manual, presets, or Google Translate on eligible plans).
For adding languages and detection, see How to add a multilingual cookie consent banner?.
Enable the banner language menu
- Open Shopify Admin > Apps > Pandectes GDPR Compliance.
- Go to Cookie banner > Content.
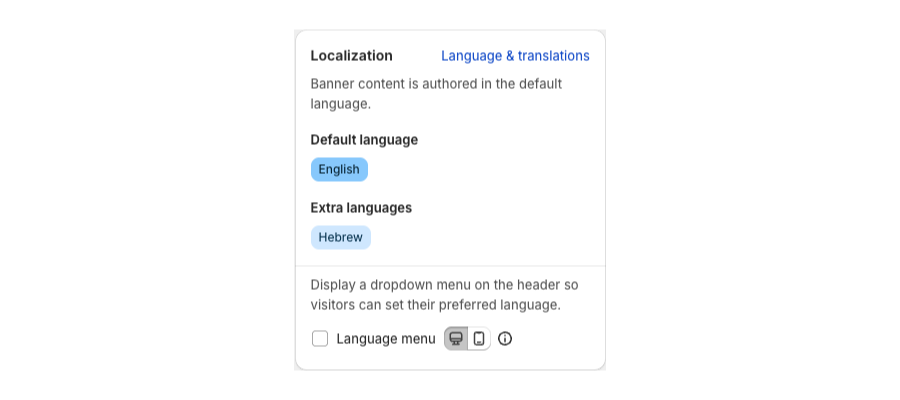
- Open Localization.
- Enable the option that allows visitors to change language on the banner.
- Confirm the extra languages you need are listed.
- Save.
Keep the header visible
- Open Layout.
- For Cookie notice (and preferences if you use a header there), make sure Hide header is off.
- Save.
Verify
- Preview the cookie notice and confirm the language control is in the header.
- Switch language and check titles, messages, and buttons.
- Repeat for preferences if that dialog is enabled.
- Test detection from All settings > Language & translations in a private window with a different browser language or
/frURL, depending on your detection method.
Related articles
Updated on: 05/10/2026
Thank you!