
How to edit banner texts and links (New Version)
Overview
Use the Content tab to change what visitors read. Use Layout for which dialogs and buttons appear.
Content settings control:
- Cookie notice title, message, and button labels
- Preferences dialog title, message, and button labels
- Consent widget / status texts
- Privacy policy, imprint, and Google partners links
- Optional Powered by badge
- The in-banner language menu (see the dedicated language article)
Category names and cookie purposes are not edited here. Those live in All settings > Categories and All settings > Cookies & HTML Storage. Extra languages for storefront copy are also managed under All settings > Language and All settings > Translations.
Before you start
- On Layout, decide whether visitors see Cookie notice, Cookie notice & Preferences, or Preferences only. Fields for a dialog you turned off may be unused.
- If Do not sell or share my data is enabled on Layout, you can edit its label on Content. See How to show Do not sell or share my data on the banner (New Version).
Open the Content tab
- Open Shopify Admin > Apps > Pandectes GDPR Compliance.
- Go to Cookie banner.
- Open the Content tab.
- Edit the sections you need, then save.
Cookie notice texts
Typical fields:
- Header
- Message
- Accept, Decline, and Preferences button labels
- Show more / show less (when the message is capped)
Write a short explanation of why you use cookies. Avoid legal claims the rest of the store does not support.
Preferences texts
Typical fields:
- Title and introduction
- Accept all, Deny all, Save, and Close
- Cookie details and vendor “learn more” labels
These strings appear when visitors open category controls.
Consent status (widget)
If the consent widget is enabled, you can edit the status dialog copy (current choices, consent ID, date). Configure the widget itself on Layout. See How to enable and customize the Consent widget (New Version).
Links
In the Links section you can show:
- Privacy policy: URL or a relative path that starts with
/ - Imprint (Impressum): same URL rules
- Google partners page: recommended when Google Consent Mode is on. The field usually pre-fills Google’s Privacy & Terms URL.
Also available:
- Open links in a new tab
- URLs respect store locale (Shopify Markets / languages)
- Inline links inside the banner message
For Google’s CMP requirements, keep Decline visible and include the Google partners link. See How to create a banner that meets Google’s banner requirements (New Version).
Powered by
You can hide the Powered by badge on the preferences and status dialogs from Content / theme options. This does not change how consent is recorded.
Language menu
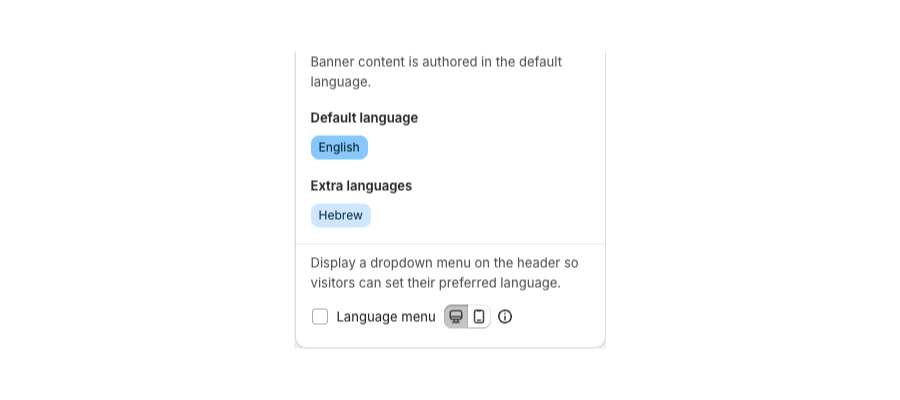
To let visitors switch banner language from the header, enable the language menu under Localization on Content. See How to add a language menu on the banner (New Version).
Verify
- Use in-app preview and switch between Cookie notice, Preferences, and Consent widget.
- Click each link and confirm it opens the correct page.
- If you use multiple languages, check All settings > Translations so edited English (or default) copy is translated.
Related articles
- Consent Dialogs (New Version)
- How to add a multilingual cookie consent banner?
- How to customize banner style, colors, logos, and buttons (New Version)
Updated on: 05/10/2026
Thank you!