
How to setup a consent banner that meets all the requirements of Google’s policies (Legacy Version)
Overview
In this guide, you will learn how to configure the legacy Pandectes banner to meet the requirements of Google's policies. Follow the steps below.
1. Install the app
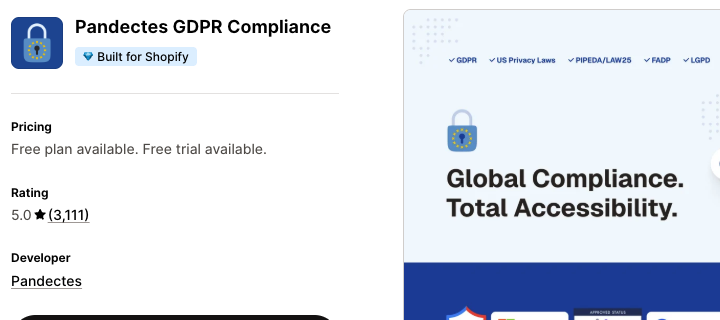
Install the app from the Shopify app store.
2. Enable the Pandectes Core app embed
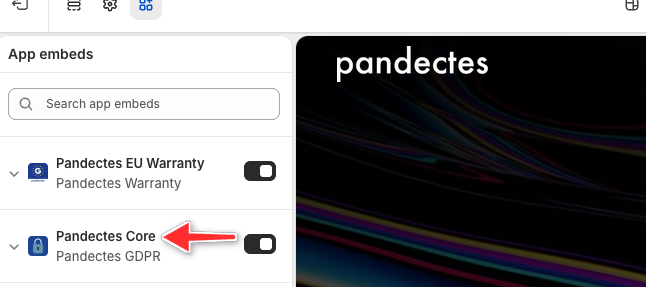
In your Shopify admin, open Online Store > Themes > Edit theme > App embeds, turn on Pandectes Core, and click Save.
3. Check the rules script
The rules script is normally detected on your theme by the app. If it is missing, add this line just after the opening <head> tag in your theme.liquid file:
<script src="{{ 'pandectes-rules.js' | file_url }}"></script>
4. Enable Google Consent Mode v2
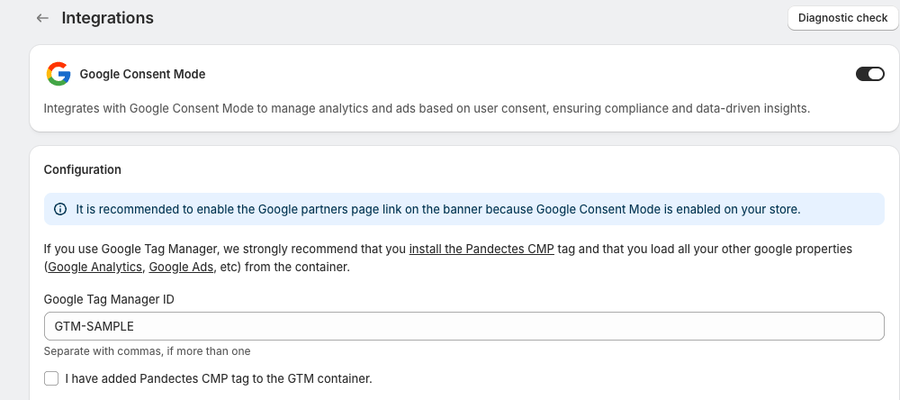
In the app menu, click Integrations, click Configure on the Google Consent Mode card, then turn on the Google Consent Mode toggle at the top of the page.
5. Use the Preferences banner and the Google link
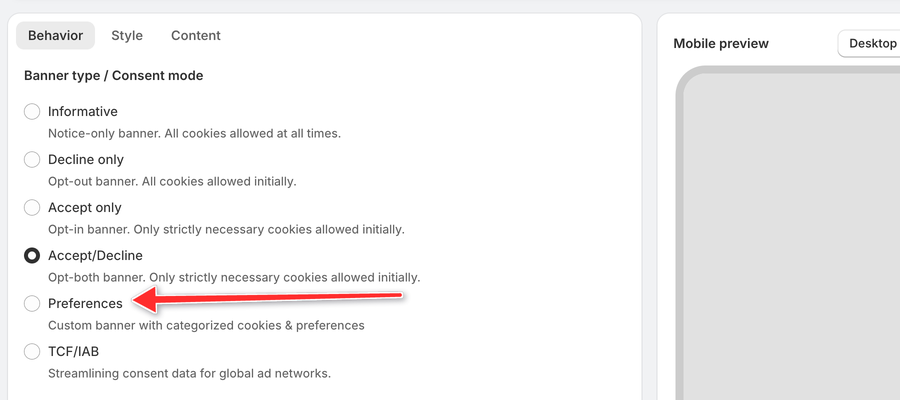
Navigate to Cookie banner > Behavior:
- Under Banner type / Consent mode, select Preferences.
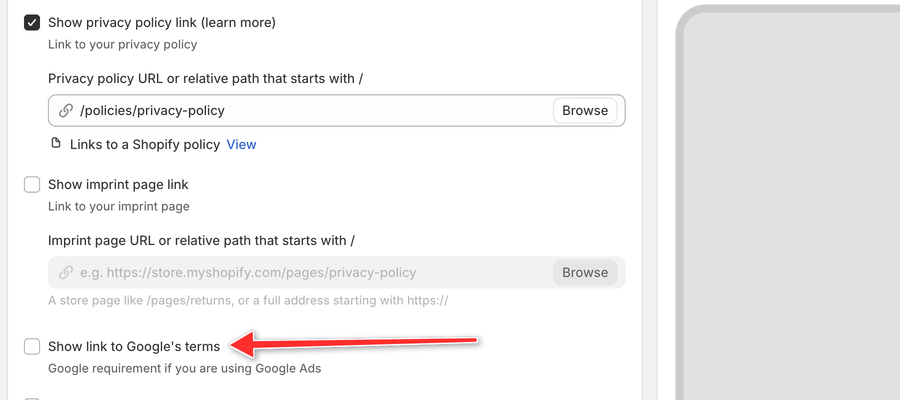
- Under Privacy policy & Imprint page links, check Show link to Google's terms.
- Click Save.
6. Add Google-required disclosure text
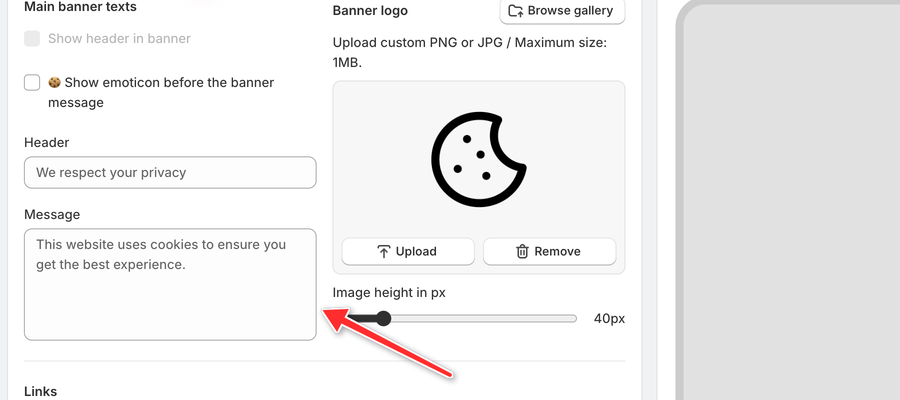
Navigate to Cookie banner > Content and, in the Message field, make sure you have included at the end the following text:
Final Result
After completing these steps, your banner meets Google's policy requirements.
Updated on: 03/11/2026
Thank you!