
Cookies & HTML Storage
Overview
Cookies & HTML Storage is the inventory of tracking items used on your store. Pandectes fills it from store scans and from cookies you add yourself. Visitors see this information in the banner preferences dialog and on the Cookies declaration page.
Use this page after you install apps, pixels, or theme scripts, or whenever a scan finds new items. Classify each row so the list stays accurate.
Open the page
- Open Shopify Admin > Apps > Pandectes GDPR Compliance.
- Go to All settings > Cookies & HTML Storage.
The page title is Cookies & HTML storage. Use Add cookie to create a row, and Export or Import to work with a CSV file.
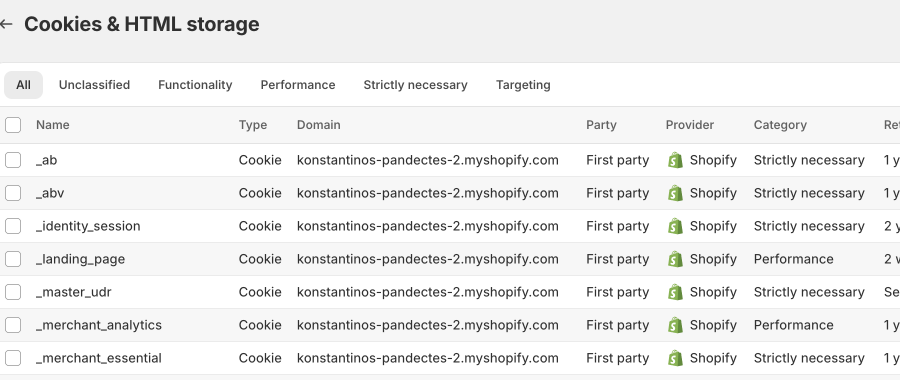
What you see in the list
Tabs filter by category: All, Unclassified, Functionality, Performance, Strictly necessary, and Targeting. Search and sort sit on the right of the tabs.
Each row includes:
Column | Meaning |
|---|---|
Name | Cookie or storage key. Names are case-sensitive. |
Type | Cookie, Local Storage, Session Storage, or Web Pixel. |
Domain | Host as seen on the storefront. |
Party | First party or third party. |
Provider | Vendor, such as Shopify or Google. |
Category | Consent category used in the banner and declaration. |
Retention | How long the item lasts, for example Session or 1 year(s). |
Source | Detected by the scanner, or Managed after you add or edit it. |
Last seen | Last time a scan found the item. |
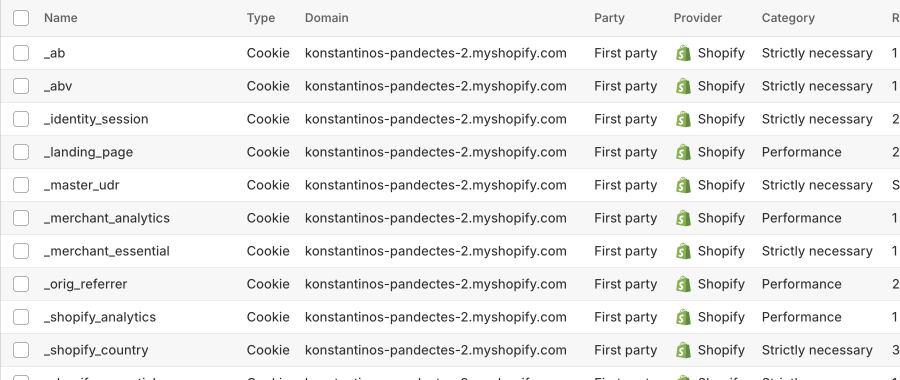
Select a row and choose Edit to change category, provider, purpose, and cookie flags such as Session, Http-Only, and Secure.
Add a cookie or storage item
- Click Add cookie. The Add new cookie dialog opens.
- Choose Type. Cookie is available on paid plans that can edit the list. Local Storage, Session Storage, and Web Pixel require Premium or Enterprise.
- Enter Name, Domain (or Origin / URL for storage and pixels), and Path for cookies.
- Set Provider and Category.
- Add a purpose in Description. This text appears in preferences and the declaration.
- Optional: mark Short living.
- Click Save.
To add a cookie with field-by-field notes, see Manually add a cookie to the cookie list.
What each plan can scan
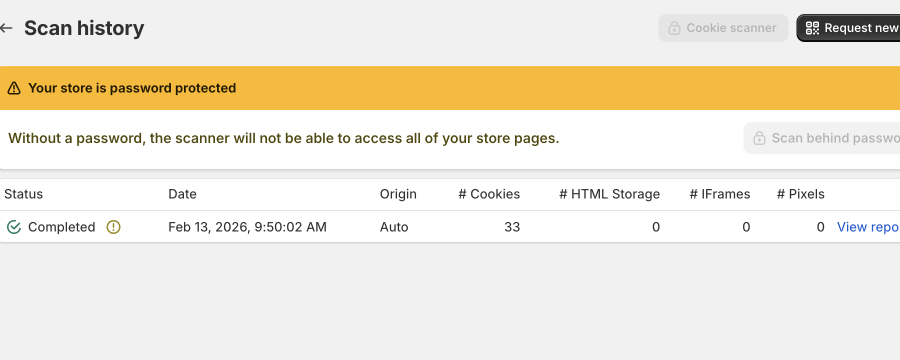
The scanner runs when the app is installed. Extra scans, report tabs, and storage types depend on the plan. Open Reports & analytics > Scan history to start a scan with Request new.
Plan | Pages per scan | What the scan can detect | Cookies & HTML Storage |
|---|---|---|---|
Basic | Up to 5 pages | Cookies on the install scan. Cookie details in the scan report. On-demand scans and full scan history are locked. | View the cookie list. Editing, Add cookie, import, and export require an upgrade. |
Plus | Up to 5 pages | On-demand scans and Scan history. Cookie (HTTP) items. | Add, edit, import, and export cookies. Local Storage, Session Storage, and Web Pixel types stay locked. |
Premium | Up to 10 pages | Cookies plus HTML Storage, IFrames, and Pixels in the scan report. | Same as Plus, and you can add Local Storage, Session Storage, and Web Pixel rows. |
Enterprise | Up to 10 pages | Everything in Premium, plus Scan behind password, Cookie scanner scheduling, and scan location (for example EU, US, UK, Canada, Australia, Japan). | Same as Premium. |
Paid stores that can run on-demand scans are limited to 5 scans per day. If you hit the limit, wait until the next day or open Plans & subscription (top bar).
A password-protected storefront needs the store password on Cookie scanner (Enterprise). Without it, the scanner may miss pages.
After a scan
- Open the scan with View report.
- Review tabs: Cookies, Scripts, Storage, IFrames, and Pixels. Storage, iframes, and pixels need Premium or Enterprise. On Basic, the report may show that the plan allows cookies scanning only.
- Apply missing or unclassified items on All settings > Cookies & HTML Storage.
- Check All settings > Categories and the Cookies declaration page so visitor-facing text matches the list.
FAQ
Why am I not seeing Meta or Google in the list?
The scanner only records items that actually get set on the pages it visits. Meta and Google often do not appear as a provider named Meta or Google.
- Search for cookie names such as
_fbp,_fbc(Meta) and_ga,_gid,_gcl_au(Google). The Provider column may say Facebook, Google Analytics, or similar. - Shopify app pixels (Google & YouTube, Meta channel, and other Customer Privacy pixels) wait for consent. If they never set a cookie during the scan, they will not show up. That can be expected when they are gated correctly.
- Google Consent Mode Advanced can send cookieless pings without setting
_ga. No cookie means nothing to list. - A scan covers a limited number of pages (see the plan table above). Checkout, account, or app-only pages may never be visited.
- Filters or a category tab other than All can hide rows. Clear search and open All.
- Add missing items with Add cookie if you know they run on the store.
Run Reports & analytics > Scan history > Request new after you add or change pixels, then review Unclassified.
Why does the list show mostly Shopify cookies?
Shopify first-party cookies load on every storefront visit, so the scanner finds them first. Third-party tools only appear if they fire during that scan.
What is the difference between Detected and Managed?
Detected came from a scan. Managed is a row you added or fully edited. You can still change category and purpose on detected cookies.
Why are Local Storage, Session Storage, or Web Pixel locked?
Those types need Premium or Enterprise. On Basic and Plus you can review HTTP cookies. Upgrade from Plans & subscription (top bar) if you need the extra types.
The scan looks incomplete. What should I check?
- Password-protected stores: add the storefront password under Cookie scanner (Enterprise).
- Daily limit: paid plans that scan on demand can run 5 scans per day.
- After new apps or pixels, request a new scan. The install scan is not updated automatically on Basic.
Related articles
- Manually add a cookie to the cookie list
- Customizing the cookie categories
- Store Scanning
- Cookie Scanner Settings
- How to group cookies by provider in the preferences dialog (New Version)
Updated on: 05/10/2026
Thank you!